How Are Teeth Whitening Trays Made?
January 22nd, 2024 | 4 min read

Teeth whitening trays are a popular choice for those looking to brighten their smiles, but have you ever wondered how these custom-fit trays are made?
At NYC Smile Design, we’ve seen the remarkable difference these trays can make and understand the precision and craftsmanship involved in their creation. Understanding the process behind creating these trays can give you a greater appreciation for the expertise required to make them.
This blog aims to educate readers on the steps involved in making teeth whitening trays, emphasizing the attention to detail necessary to ensure effective and comfortable whitening results.
Step 1: Taking Impressions of Your Teeth
Your journey towards a brighter smile begins with a crucial first step: getting impressions of your teeth taken at your dentist’s office. This process, typically taking about 15 to 30 minutes, is essential to ensure that the whitening trays fit your teeth perfectly.
Traditionally, during your visit, your dentist will use a special putty-like material for the impression. You’ll be asked to bite down on this material, which is designed to capture every detail of your teeth and gums.
Once it hardens around your teeth in about 3 to 5 minutes, it forms an accurate mold of your mouth. This mold is vital as it records the exact shape and size of your teeth, which is necessary for the next steps in making your custom whitening trays.
Why NYC Smile Design is Different
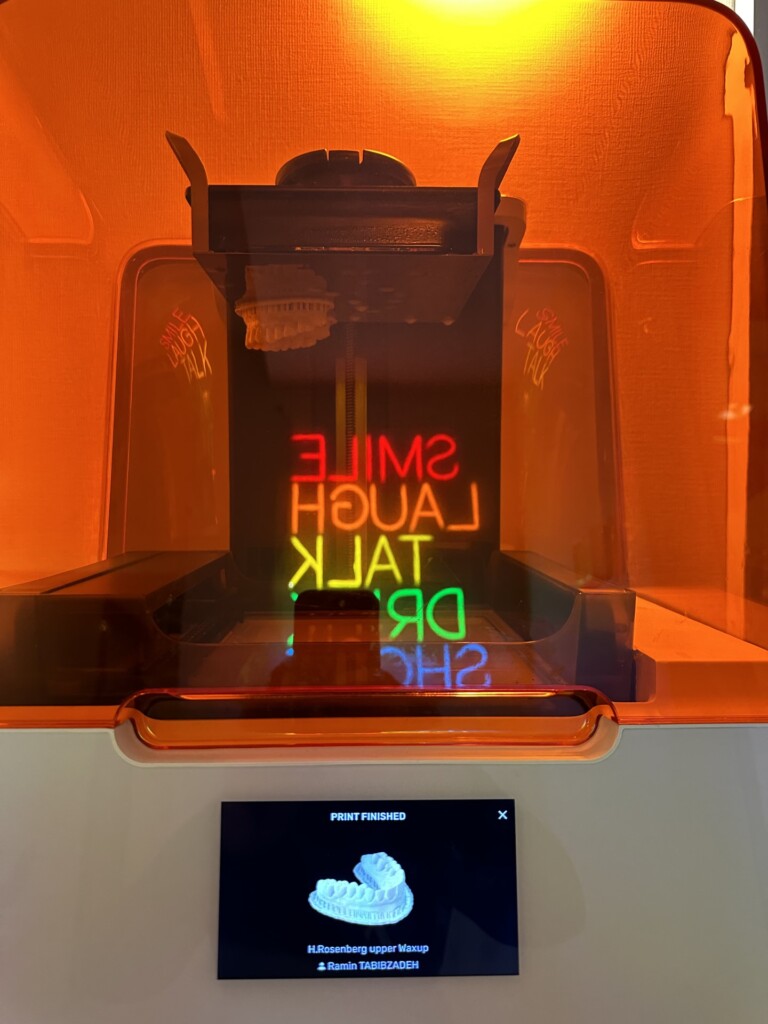
At NYC Smile Design, we enhance this experience by using advanced 3D scanning technology. This innovative approach allows us to capture a precise digital model of your teeth without the discomfort associated with traditional molds. The 3D scan is quick, comfortable, and highly accurate, ensuring a perfect fit for your whitening trays without the need for you to bite into any material. This state-of-the-art technology not only improves the comfort of the impression process but also contributes to the overall precision and effectiveness of your custom whitening trays.

Step 2: Creating a Model from the Impressions
In a traditional practice, after the impression material is set and removed from your mouth, it leaves behind a precise mold. If you decided to opt for an experience using advanced 3D scanning technology, the outcome would be similar without the hassle of keeping the impression material in your mouth. This material is then used to create a mold of your teeth.
The model is typically crafted from plaster or a similar durable substance. This model acts as a physical blueprint for your custom whitening trays. It ensures that the trays will fit the unique contours of your teeth and gums accurately, which is crucial for the effectiveness and comfort of the whitening process. This process can take anywhere from 30 minutes to an hour but may be longer if plaster is used.

Step 3: Crafting the Trays
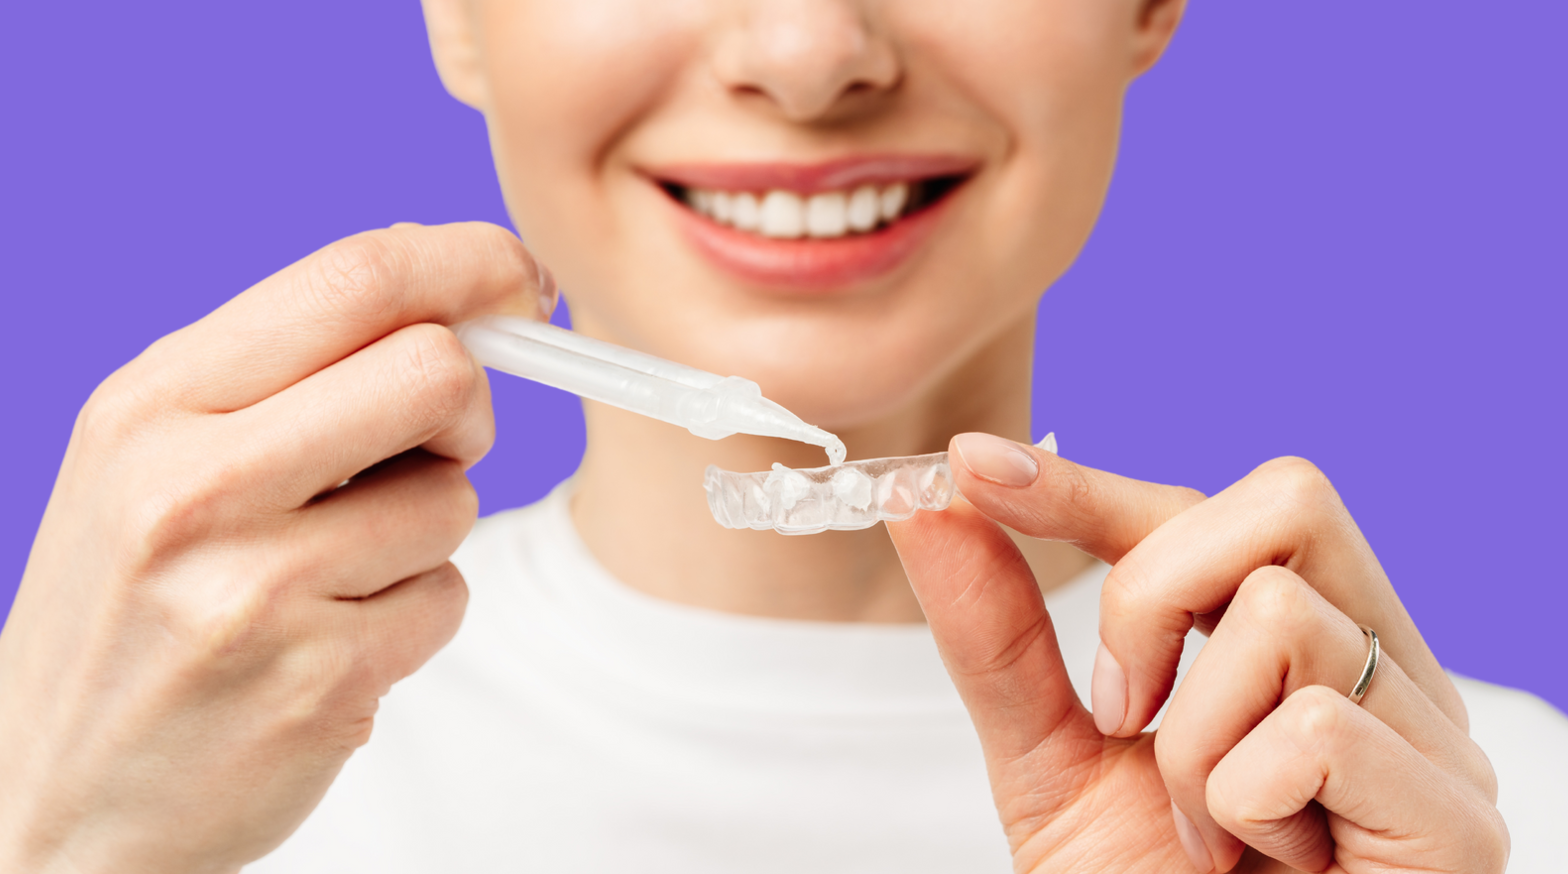
The actual creation of your whitening trays is the next step. Utilizing the detailed model of your teeth, the trays are crafted from a special dental-grade material. This material is usually a clear, flexible plastic, chosen for its durability and comfort.
The plastic is carefully molded around the teeth model to create trays that are thin enough to be comfortable yet sturdy enough to hold the whitening gel against your teeth uniformly. This precise fitting is key to ensuring that the whitening agent is evenly distributed over your teeth for optimal whitening results. This phase can take a few hours to a day, depending on the dental lab’s schedule.
Step 4: Trimming and Polishing the Whitening Trays
Once the trays are formed, they undergo a process of refinement which can take up to an hour. They are carefully trimmed and polished to remove any excess material and ensure a smooth finish. This step is important to make sure the trays fit comfortably in your mouth without irritating your gums or cheeks.
The edges of the trays are smoothed out, and any rough spots are polished for a snug fit that closely follows the shape of your teeth. The goal is to have trays that you can wear comfortably for the required duration during the whitening process.

Step 5: Final Fitting and Instructions
The final step in the process is the fitting and instruction phase. You’ll visit your dentist again, where they will test the fit of the newly made trays on your teeth. Your dentist will check to ensure they sit perfectly on your teeth and make any final adjustments if necessary, usually taking about 30 minutes.
During this visit, you will also receive detailed instructions on how to use the trays with the whitening gel. Your dentist will guide you on how long and how often to wear the trays to achieve the best whitening results. This final fitting ensures that your custom whitening trays are not only effective but also comfortable and safe to use.
Common Questions and Answers About Teeth Whitening Trays
When it comes to teeth whitening trays, there are often many questions that patients have regarding their use and maintenance. Here are some common questions, including what to do if your trays no longer fit your teeth.
What do I do if my trays no longer fit my teeth?
If you find that your teeth whitening trays no longer fit properly, it’s important to consult your dentist. Changes in fit can occur due to various reasons, such as natural shifts in your teeth over time or changes resulting from dental work. Your dentist can assess the situation and determine if you need a new set of trays. Be sure to bring your set with you to this appointment.
How often should I clean my whitening trays?
It’s important to clean your whitening trays after each use. Rinse them thoroughly with cold water and gently brush them with a soft toothbrush. Avoid using hot water, as it can warp the plastic. After cleaning, let them air dry before storing them in their case.
Can I eat or drink while wearing my whitening trays?
It’s not recommended to eat or drink while wearing your whitening trays.
How long should I wear my whitening trays each day?
Generally, it can range from 20 minutes to an hour each day. Always follow your dentist’s instructions to avoid over-whitening or causing sensitivity to your teeth.
What should I do if I experience tooth sensitivity?
Some people may experience tooth sensitivity during the whitening process. If this happens, you can try using the trays for a shorter period or take a break for a day or two. For sensitive teeth, we recommend whitening every other day and brushing with toothpaste formulated for sensitive teeth.
Conclusion: A Blend of Science and Artistry
The creation of teeth whitening trays is a blend of science and artistry. It requires precision, attention to detail, and a deep understanding of dental anatomy. Custom-fit trays ensure that the whitening process is not only effective but also safe and comfortable. If you’re considering teeth whitening, understanding the care and craftsmanship that go into making these trays can give you confidence in choosing this method for a brighter, more radiant smile.
To further explore your teeth whitening options and make an informed decision about which method is best for you, we invite you to read our blog, “Choosing the Best Teeth Whitening Method: In-Office vs. Take-Home Trays.“ This resource will provide you with detailed insights into the benefits of each approach, helping you to determine the most suitable and effective whitening treatment for your individual needs.
Ready to start your teeth whitening process? Schedule a consultation with NYC Smile Design today.
Topics:

